
Welcome to the world of gamers! Are you in search of a gaming PC but don’t want to break the bank for it? Even if you have a budget of under 50K, it is possible to build an awesome gaming PC. This blog will teach you how to do just that. Let’s get started and get your gaming adventure up and running!
Introduction
Want to build a gaming PC on a budget? Building the perfect gaming rig doesn’t have to be expensive. It is possible to put together a good quality gaming computer for under ₹50,000. Choosing the right parts for your budget is essential, but customizing a gaming PC doesn’t have to be intimidating. With some research and vendor comparison you can find the best components at the lowest prices.
To get started you’ll need to decide how much power and speed you want your gaming PC to have. Consider what games you plan on playing and their minimum system requirements so that your machine has enough processing power and graphics card capabilities to handle them. You’ll also want to think about how expandable your system should be, such as if it needs an additional hard drive or more RAM in case you want to upgrade in future months or years.
Once these decisions are made, finding compatible components in line with your budget will be easier as online retailers lists different hardware specs together with its prices enabling easy comparison shopping. If you make all the right choices, it is possible to not only build a powerful gaming PC for under 50000 but also upgrade later as needed with any additional money saved from other items.
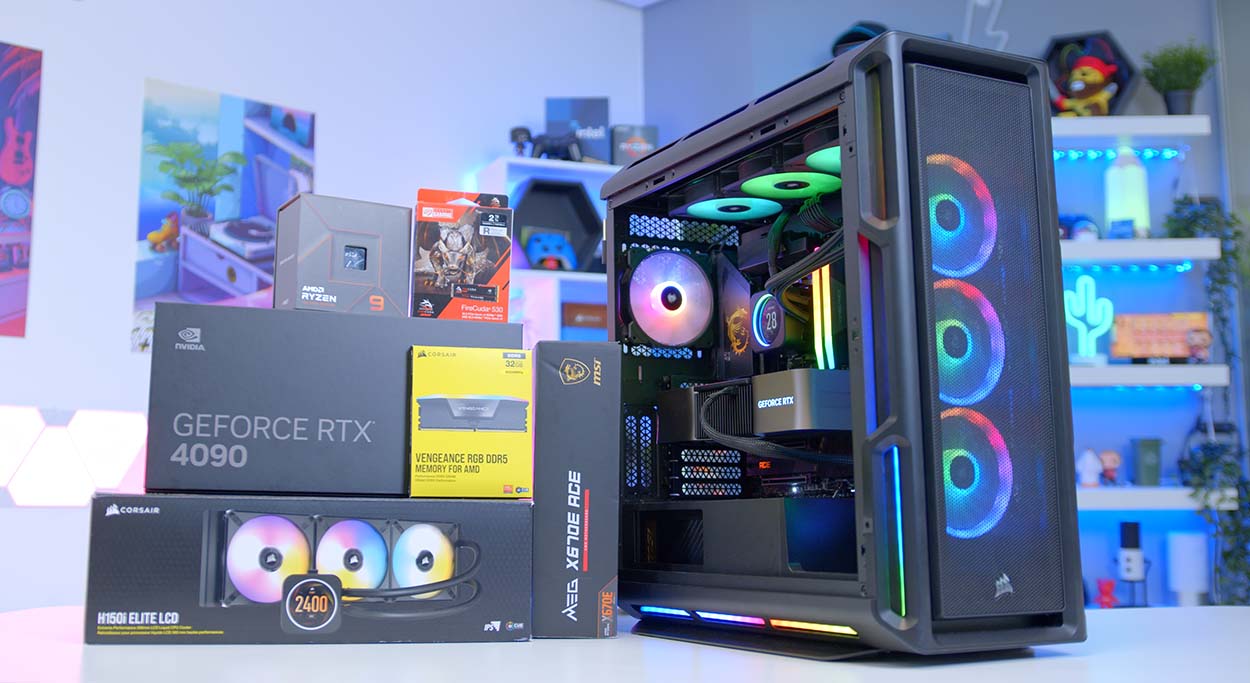
Components Needed to Build a Gaming PC
Building a gaming PC can be an exciting and fulfilling experience, particularly when done on a budget. To build a good gaming PC under INR 50,000., there are certain components that are essential. This guide will demonstrate the various steps and components necessary to assemble your own custom-designed gaming PC.
Hardware
The most important component of any computer is its hardware — this includes the processor (CPU), motherboards, RAM (Random Access Memory), power supply units (PSU), hard disk drives (HDDs) and solid-state drives (SSDs). All of these components are essential for the system to work properly and within the budget you have in mind.
Processor: The processor or CPU is one of the most expensive components in any system, but also one of the most powerful. When it comes to gaming PCs, you should aim for an Intel Core i5 processor or AMD Ryzen 5 series processor as they provide both performance and cost-effectiveness at an affordable price. It’s important to consider how many cores you require for your gaming setup — more cores typically mean better multitasking which is ideal for gaming. You should also look out for processors with designed graphics cards as these offer additional processing power during games.
Motherboard: The motherboard serves as the base foundation of your entire system — it links all other components together and helps them communicate with each other properly. With motherboards, you received what you pay for in terms of features such as aesthetics, build quality and overclocking capabilities. For gaming purposes you should focus on ones that have high speed RAM (DDR4) support along with multiple PCIe slots that can expand your system to accommodate additional graphics cards or storage devices down the line.
RAM: Random access memory is used as a temporary workspace by your computer while performing operations like running programs or accessing data from storage drives — buying more RAM will allow more processes to run simultaneously at faster speeds. Optimal amounts of RAM would be 8GB (gigabytes) up though some gamers opt for up to 16GB if they need heavier multitasking needs or game performance needs boosts.
Power Supply Unit: The PSU provides power to all the components inside your case via connections called rails; this way all wiring can be routed efficiently across the entirety of your setup without having any clutter visible from outside of it – opt for one rated 500watts or higher if possible this ensures stable power even when using multiple graphics cards/peripherals that draw heavy electricity .
Storage Drives: Storage drives store digital files like photos , videos poems e -books etc; HDD are cheaper but slower than SSDs hence if possible always invest in an SSD drive .If money permits get an SSD + HDD combination so that essential files are permanently stored onssd part and old bulk data stored on HDD parts .
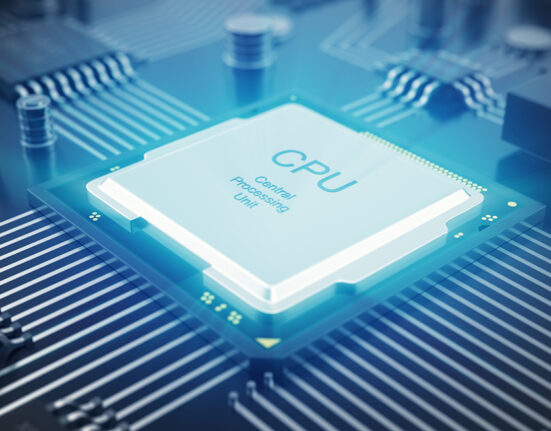
Choosing the Right Processor
Choosing the right processor for your gaming PC build is essential to achieving good performance in current and upcoming games. To build a gaming PC under 50000, you should look for processors with at least four physical cores and eight threads. While more processors are available with six or more cores, they tend to cost a bit more than what would be considered budget-minded processors.
For your gaming needs, it’s worth looking for a processor with better performance per dollar (a good balance of performance and cost). Also consider including an aftermarket cooler in your build to ensure that your processor runs cool under maximum load.
When choosing a processor, consider how much multitasking you need – do you need to stream or record while playing? You’ll also want to look into the boost clock speed of the processor as this can affect gaming performance. Ultimately, it’s important to know what games you want to play and what level of performance can be expected from certain CPU models before deciding on which one is best for your budget gaming PC build.
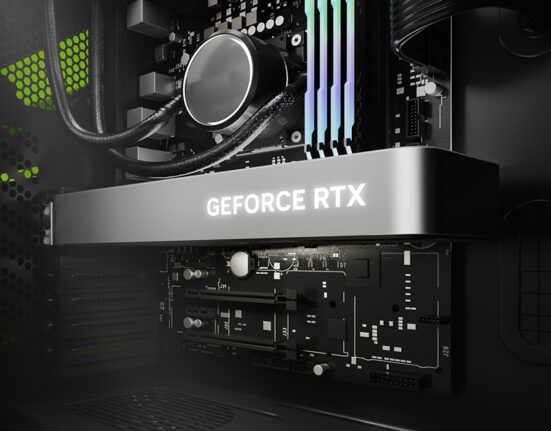
Selecting the Right Graphics Card
When it comes to selecting the right graphics card for your gaming PC build, there are several factors you need to consider. Firstly, your budget – how much can you realistically spend on a graphics card? Secondly, what level of gaming performance do you want to achieve? Thirdly, which specific games are you wanting to play and at what resolution?
Some of the main criteria that should be taken into account when choosing a graphics card include:
-Video memory: How much onboard memory is available on the card and can it be upgraded?
-GPU core speed & overclocking: How fast is the GPU core running compared with similar cards and is overclocking possible?
-Tip & technologies supported: Does the device support DirectX 11 or 12 as well as features like PhysX and CUDA cores for faster computing?
-Connectors: What type of display connectors (HDMI, DVI etc) does the card have and how many displays can it handle simultaneously?
-Power requirements & heat dissipation: Does the device require additional power cables from PSU or draw sufficient power through PCIe slot as well as having a high quality cooling system in place in order to avoid overheating.
Opting for the Right RAM
When selecting the right RAM for your gaming PC, take into account the size, cost and type. The size of RAM is measured in megabytes (MB). A good standard for a gaming PC is 8GB of RAM, though more can be beneficial depending on your type of gaming. The system should be expandable to at least 16GB should you want to upgrade. There are two main types of RAM – DDR3 and DDR4. DDR4 is faster and higher quality than DDR3, so it’s worth making sure you have at least some compatible memory that uses this or better technology.
You’ll also need to consider the cost when selecting a suitable RAM for your PC build under 50000 INR. There are many affordable options ranging from 4-16GB which will satisfy most basic needs but if you’re planning on doing any heavy-duty gaming then more expensive memory will come in handy. An SSD is also recommended as it stores information faster than traditional hard drives and helps reduce loading time when gaming. In terms of price, performance, and overall compatibility with other components, it’s best to go with either Corsair or Crucial RAM as they both offer excellent support and customer care services.
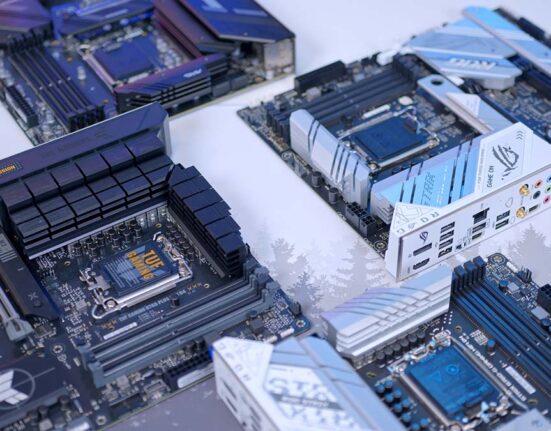
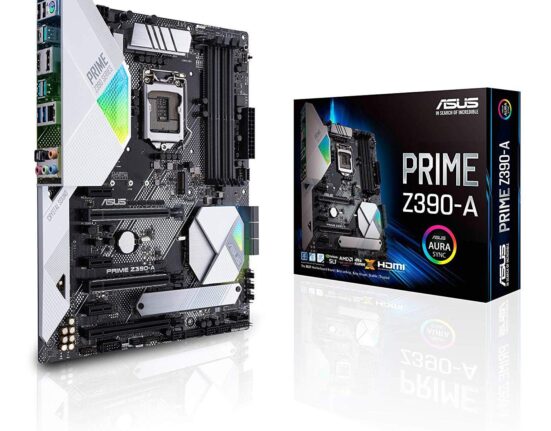
Deciding on the Right Motherboard
Choosing the right motherboard for your gaming PC build is critical. Not only does the motherboard provide components such as audio and USB ports, but it also houses the processor (CPU) which is arguably the most important component in any gaming computer.
When selecting a motherboard, you should consider compatibility with your other components such as GPU, RAM, and storage drives. Additionally, you should make sure that your chosen CPU is supported by the motherboard’s pin type and socket type.
You should also decide whether or not you want onboard Wi-Fi. In most cases, installing a plug-in card or using an ethernet cable will provide better speed and stability than built-in Wi-Fi hardware. Finally, look at reviews of similar motherboards to ensure that yours includes features that are important to you–such as overclocking capabilities or fan control features.
When building a gaming PC under 50000 it is important to choose a quality yet affordable motherboard to get the most out of your build’s performance capabilities. Be sure to research compatible motherboards so that your PC can reach its potential for power and longevity!
Assembling the Parts
Assembling the parts is not too difficult, if you follow the steps appropriately and in the right order it can be done very easily.
1. Start with the motherboard, making sure to ground yourself before you begin to avoid any damage due to static electricity. Carefully line up and slide in your CPU into its corresponding socket and attach the CPU heat sink using thermal paste to ensure good contact between the two surfaces. Secure it by attaching some of the screws from your heatsink fan bracket.
2. Connect all essential cables including power supply and front panel input/output cable for USB, audio jacks etc or as necessary for your setup. Attach RAM modules into appropriate slots on Motherboard, again matching diagrams/rear IO illustrations of your Motherboard if required.
3 The next step is installing Hard Disk Drives (HDD) and Solid State Drives (SSDs) into their cases if they are external drives, or placing them directly onto available SATA connectors when they are internal drives such as SSDs’s with M2 adapters or 2 1/2 inch form factor hard discs. If you have multiple storage devices such as space for 2-3 hard discs and one or two SSDs then refer back to rear IO illustrations for optimum usage
of available ports/SATA connectors etc.; once installed connect respective data cables onto them (red for HDD’s, blue for SATA SATA Express etc.). You may also need an additional power connector specific to SSD models; refer documentation supplied along with storage device/drives if required to ensure all required steps are taken correctly before powering on your system next time you switch it off .
4 Now install GPU of your choice in PCI Express slot provided usually at most motherboards mid-way in row below RAM modules, make sure that graphics card is firmly pressed down into place so that locking levers on either sides click side indicating positive engagement of PCIe slot card – Installation of additional PCI cards like Sound & Network cards can follow this process as well; preferably connect these before actually plugging power cord below when finished configuring system entirely however also referred to documentation supplied alongwith each component respectively 5 Finish assembling by connecting monitor via HDMI / DisplayPort cable (depending on what graphics card supports & monitors connection port) followed by installing Speaker systems wherever applicable then Keyboard & Mouse peripherals last for extra plug-n-play convenience 6 Finally connect AC power adapter plug mostly located at rear left side where we attached front panel IO cables prior 7 Last but not least hold down main Power On button present near rear top portion where CPU Fans are attached until “00 seconds” appears upon BIOS boot screen – Voila ! You have successfully built gaming PC under 50000INR !
Testing and Troubleshooting the PC
Now that you’ve assembled your gaming PC and connected all the components, it’s important to do some testing and troubleshooting in order to make sure everything is functioning properly. This is easily done through a series of simple checks.
First, you want to test the power supply (PSU) by turning on the switch located on the back of the casing for about a second. If it does not turn on, then either you did not plug something in properly or there may be an issue with your components.
Next, ensure that all fans inside your PC are working properly and are not making any loud noises when rotating. If any fan is making excessive noise, turn off your computer immediately and further investigate the issue.
It’s also important to check for dust inside your PC as it can damage components over time if it’s not managed properly. Unplug all of the components before you do so to avoid electric shocks when cleaning out dust with a vacuum or air compressor ( makes sure to hold one hand behind your back when doing so). Be careful where you direct blasts of air, as they could damage delicate internal components such as capacitors or fans in the process of removing dust.
Finally, check out any diagnostic tools pre-installed within Windows in order to assess system health and temperature levels of various internal parts such as processors, hard drives etc. If something does not seem normal or within guidelines set by manufacturer specifications for these parts then turn off your PC immediately and investigate further before running benchmarks or games which could cause permanent damage otherwise!


Leave feedback about this